")
How to Dimple Your AR-15 Barrel (+ Why You Should)
Posted by Gunbuilders.com on Sep 24th 2024
Installing a new gas block? Chances are, the block's set screws don't match your existing barrel. Or maybe you're building a new AR-15 upper, and your new barrel has no dimples to speak of. Is it really necessary? Yes, and here's how to do it.
Why You Should Dimple Your Barrel
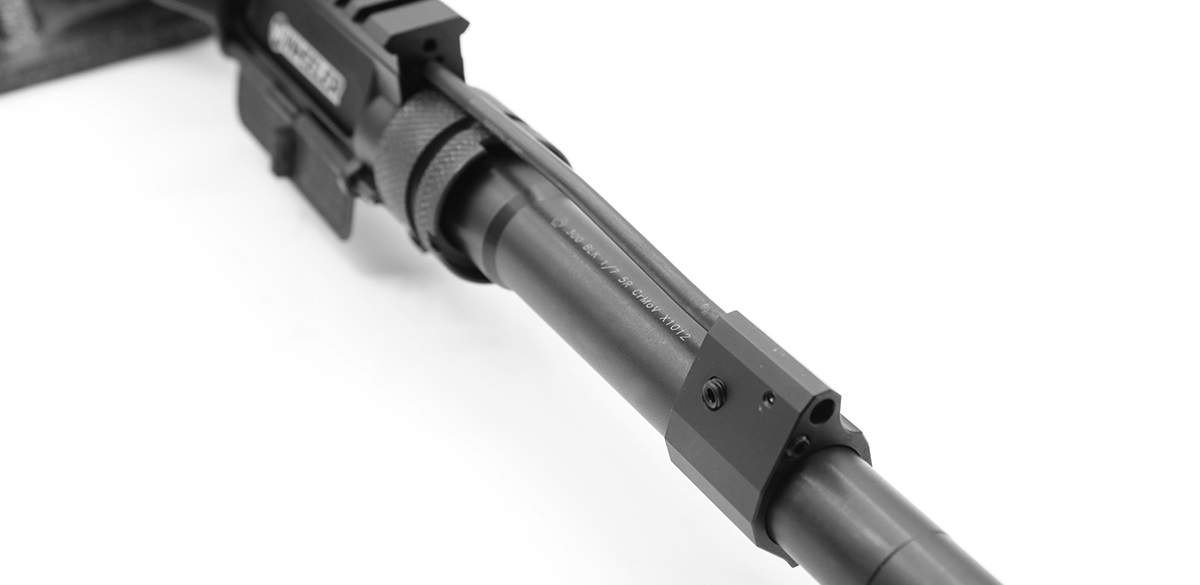
Dimpling your barrel is important for two reasons: First, it ensures your gas block stays put. The block is subjected to intense heat, pressure, and recoil energy, and the barrel is made from forged, hardened steel. Simply pressing the gas block's set screws against the barrel's hardened surface doesn't provide enough clamping force to reliably keep the gas block held in place when firing.
A loose gas block will almost always cause the rifle to fail to cycle, which brings us to the second reason you should dimple your barrel: It guarantees the gas block's port aligns with the gas port in the barrel. This ensures all gas gets back to the bolt carrier group.
How to Dimple The Barrel
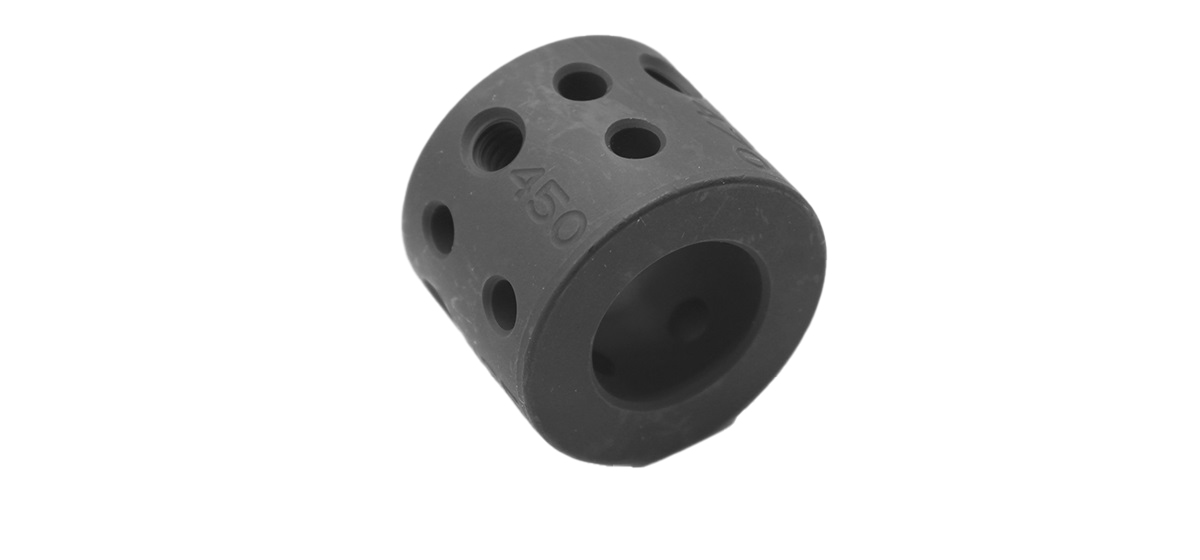
To dimple your barrel for proper gas block alignment, you'll need a dimple jig. We're using the Multi-Position Dimple Jig from KAK Industry. This particular jig is a great one-time investment, since it provides the dimple patterns for nearly all gas blocks currently sold from various manufacturers.
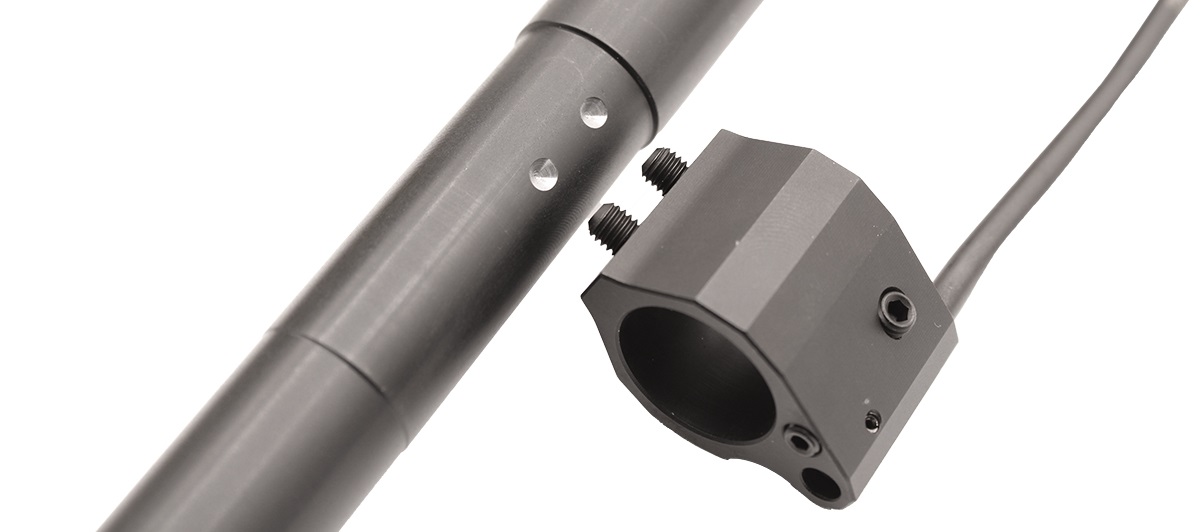
Identify Your Gas Block's Set Screw Pattern

Our gas block has two set screws spaced 0.400" apart, center from center. You don't need a micrometer to determine which holes to use in your jig -- just partially thread your set screws into the gas block, and fit them alongside the various hole patterns on your jig until you find the pattern that aligns.
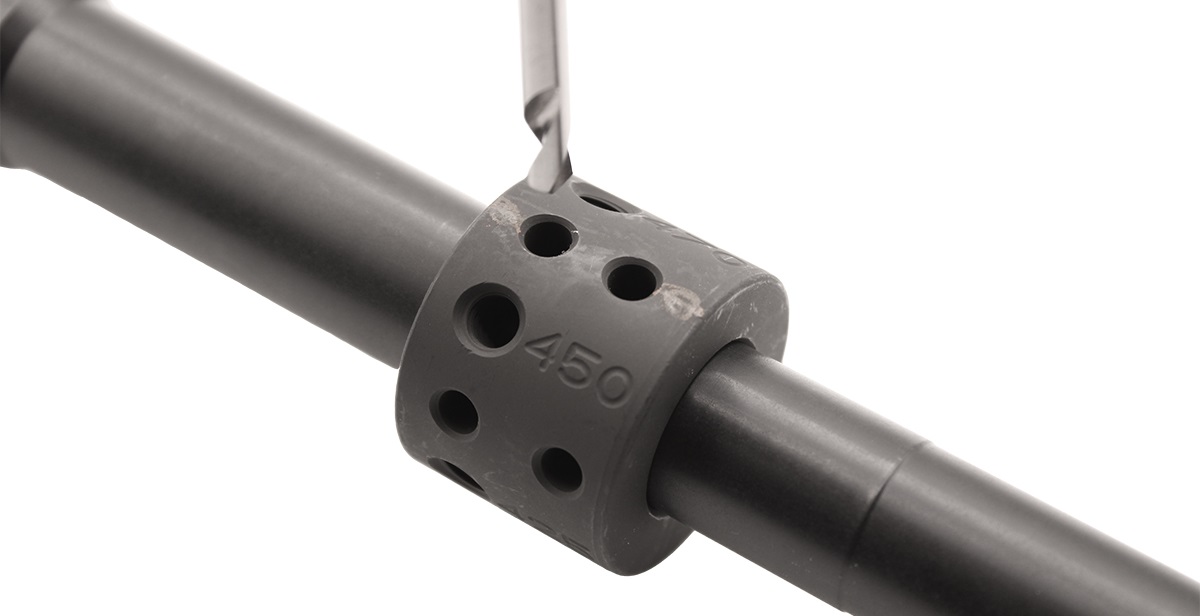
Mark The Appropriate Jig Pattern Holes

Once you've verified which hole pattern you need to dimple your barrel, mark the holes with a crayon or colored pencil. Verify the jig's set screw hole for the barrel's gas port (located on the opposite of the jig) is also marked for the appropriate holes. You'll be using the gas port set screw to align the dimpling hole for drilling, so it's important you use the right one.
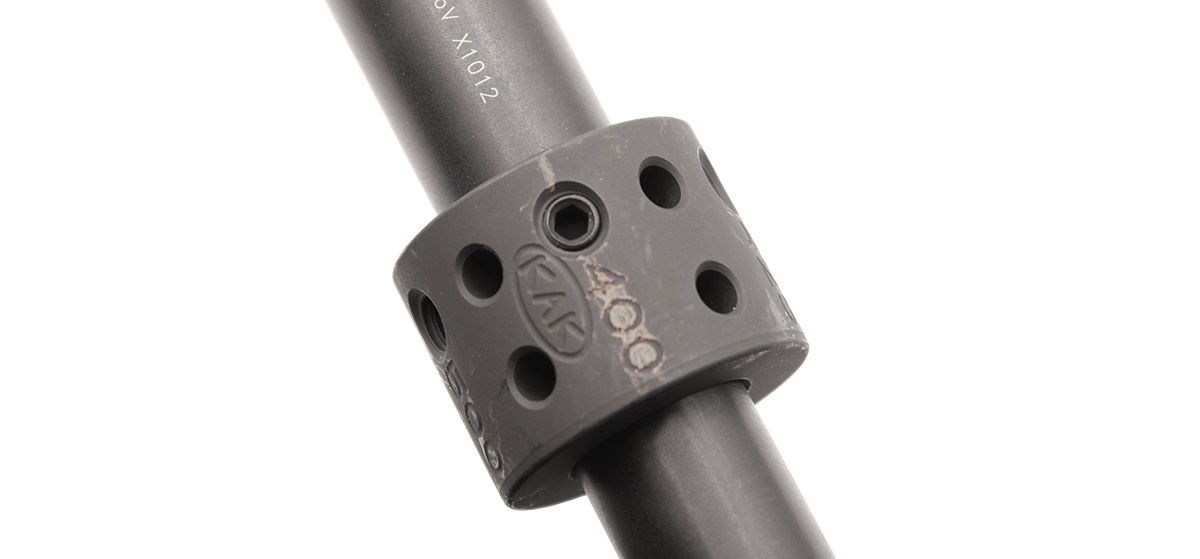
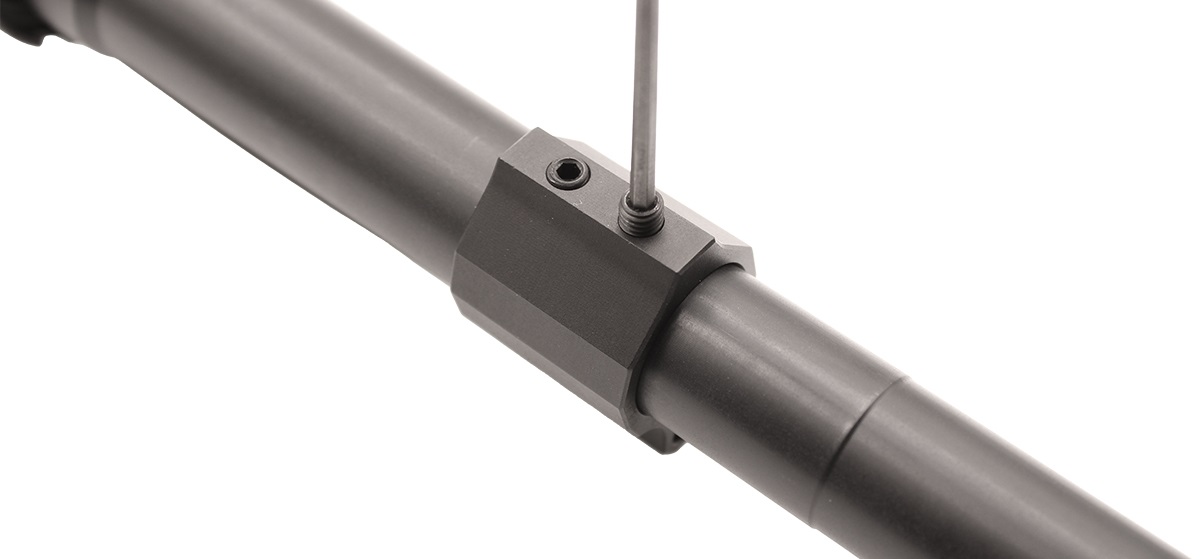
Align The Jig With The Barrel's Gas Port
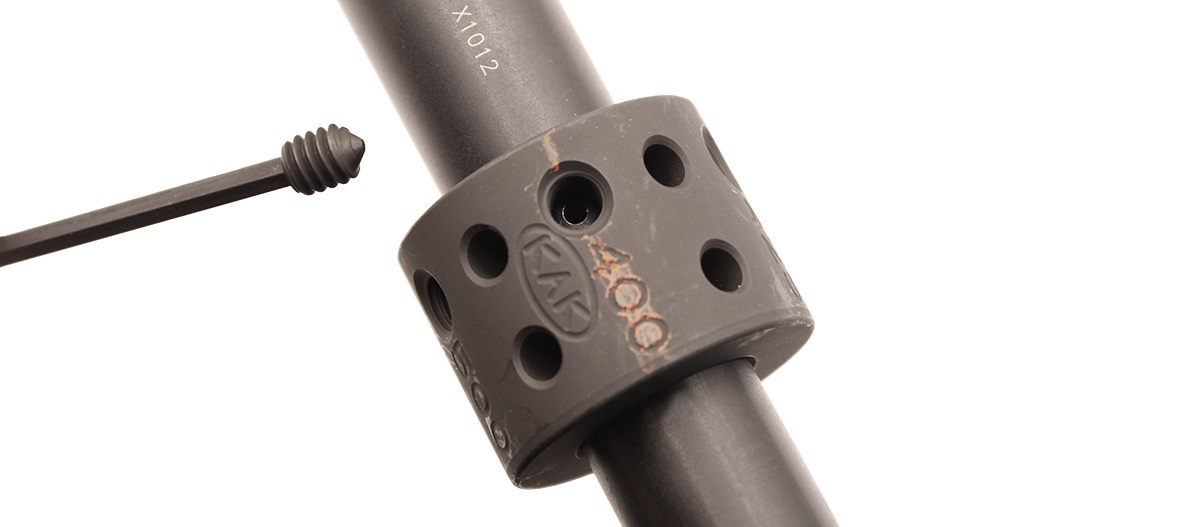
With both the set screw pattern holes and the gas port set screw hole marked for clarity, align the dimple jig's gas port screw hole with the gas port on the barrel.
It's important not to over-tighten the jig's set screw when securing it in the gas port hole. Over-tightening can needlessly enlarge and even damage the gas port on the barrel, leading to a leak between the gas block and barrel.
Dimple The Barrel With Provided Drill Bit
Using the provided bit and an electric hand drill (or drill press), begin dimpling the barrel.
CAUTION! Only remove small amounts of metal at a time. Stop frequently, blow debris from the holes, and check the depth of the dimples. You only need to drill into the barrel deep enough to secure the tips of the set screws.
When you're finished, the diameter of each dimple should be slightly smaller than the diameter of the gas block's set screws. Dimpling removes any surface treatments and exposes raw steel. You may apply a small amount of cold bluing or a light protecting coating of aerosol paint to protect this area from corrosion.
Finally, you can install your gas block. Seat it on the barrel, ensuring the threaded holes in the block align with the dimples you created. Then tighten your set screws in place.
"Do I need to dimple and install both set screws?"
No. Only set screw is required to keep the gas block secured. Many AR-15 builders also choose to install just one of the two set screws included with most gas blocks.
Using just one set screw allows you to more easily swap gas blocks in the future. This approach leaves room on the barrel to drill another dimple for your new block's set screws, which may feature a different hold pattern.
"Help! Now my gas tube doesn't align with my upper!"
Dimpling your barrel using the approach illustrated above -- with a proper jig -- guarantees the gas block aligns with the gas port in the barrel. This should also guarantee alignment of the gas tube with the upper receiver.
If your gas tube no longer aligns with your upper receiver after dimpling, your barrel extension's alignment pin may not be correctly centered inside the upper receiver.
This can be due to either an incorrectly installed barrel extension, or a poorly machined alignment pin slot located in the upper receiver's barrel nut threads.
In either case, remove the barrel nut and inspect both the barrel extension and stripped upper receiver to verify correct orientation of the alignment pin.
If both items appear aligned, carefully inspect the gas tube's seat within the gas block. Ensure the tube isn't slightly rotated off axis; this would cause misalignment.
"I need help building my upper!"
We've got you covered! Read our in-depth guide: How to Build the AR-15 Upper. This guide covers picking the right parts for your custom upper, and it goes over how to assemble your stripped upper, barrel, gas system, handguard, bolt carrier group, and charging handle.
DISCLAIMER: If you are new to the world of DIY gun building, you likely have a lot of questions and rightfully so. It’s an area that has a lot of questions that, without the correct answers, could have some serious implications. At GunBuilders.com, we are by no means providing this content on our website to serve as legal advice or legal counsel. We encourage each and every builder to perform their own research around their respective State laws as well as educating themselves on the Federal laws. When performing your own research, please be sure that you are getting your information from a reliable source.