How to Duracoat a Rifle
Posted by Gun Builders Depot on Aug 26th 2021
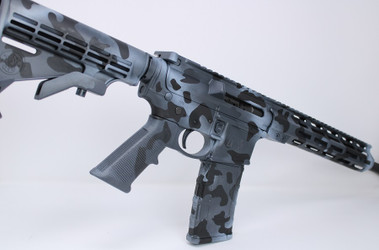
If you've spent any amount of time on forums like m4Carbine.net or AR15.com, you've come across some wicked AR-15 painted finishes. Well, now you can apply a custom coating like that yourself! We're going over how to Duracoat a rifle, using different colors and vinyl camouflage stencils to create your own pattern.
1. Pick Your Duracoat & Colors

You've got two choices when it comes to DIY-ing your Duracoat job: Buy the paint and hardener in separate containers (like this), mix them, and spray them with your own airbrush or HPLV gun with a compressor.

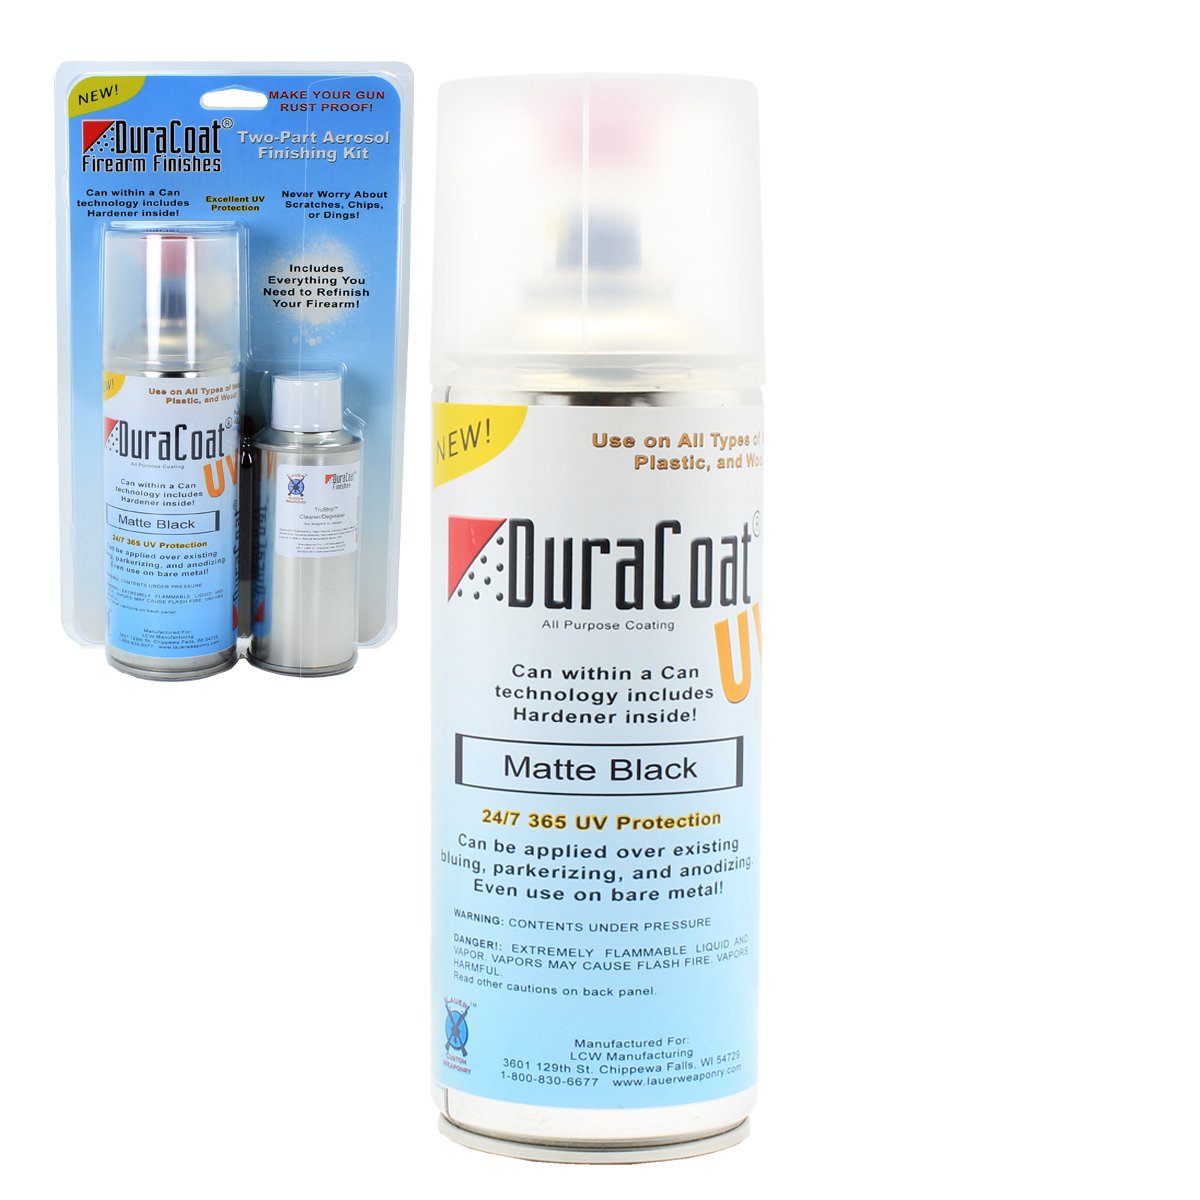
Or, buy Duracoat's spray cans, like these. That's how we're doing it. The spray cans cost about $25 more, but they contain the paint and hardener with a mixing mechanism built into the spray can itself. That means you don't need your own air gun or compressor. For our project, we're using HK Blue/Gray and NWU Light Blue. To obtain a camouflage pattern, we're using simple adhesive stencils cut from vinyl.
2. Grab These Tools

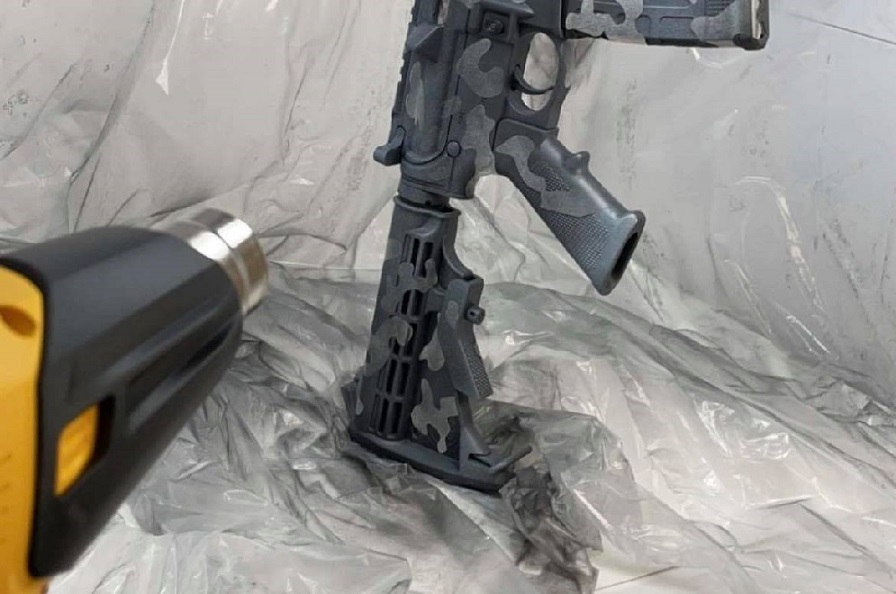
You don't need any special tools if you use the aerosol cans, but it's helpful to have some painter's tape, a heat gun, de-greaser, gloves, and paper towels. Duracoat's cleaning agent works best. We tried other cleaners like acetone, and they tend to leave a residue. A heat gun can make or break the entire paint job: Flashing each coating with high heat will create a flat, uniform finish with each layer of paint. It also helps to prevent over-spray dripping and orange peeling. You should use tape to cover up anything you don't want painted: Muzzles, pins, triggers, and other bits. Lastly, we recommend you wear some latex or rubber gloves. After de-greasing, you don't want oil from your hands to contaminate the surfaces you'll be painting. This can affect the Duracoat.
Creating a Camo Pattern
To create our camouflage pattern, we're using vinyl stencils. They stick well to anodized, phosphated, nitrided, and plastic surfaces after you've cleaned and prepped your rifle. You can find camouflage stencils like this for a couple bucks online.
3. Prep Your Rifle

Eighty percent of a paint job's quality is found in the prep work, so take your time. Tape up any parts you don't want painted (or disassemble your rifle to remove those parts) and be sure to plug holes and receivers with some towels or cloth. Hanging your rifle by the muzzle with some string makes painting easy.
De-grease your rifle. We recommend using cotton gloves and a microfiber towel to wipe the gun down. Paper towels can leave behind small fibers that will get trapped in your paint when you spray it. You may notice some oil seeping out of the safety lever or trigger and hammer pins, even after you de-grease once or twice. Make sure you soak those areas thoroughly with your cleaning agent before painting.
Applying Camouflage

We want some our rifle's black finish to show through as a camouflage pattern. So, we've applied our adhesive stencils after de-greasing. If you want your camo pattern to show a different color, you should paint that color as the base coat. Let the paint cure for at least one hour, then apply your camouflage stencils and spray your next color.
4. Prep Your Paint Space

Duracoat will cling to whatever it touches, and it ain't coming off without a fight. You do not want to spray Duracoat near furniture, vehicles, or generally in a confined space where paint can cling. We set up a paint booth with plastic tarps, and we're working in an empty, ventilated space.
5. Prep the Duracoat

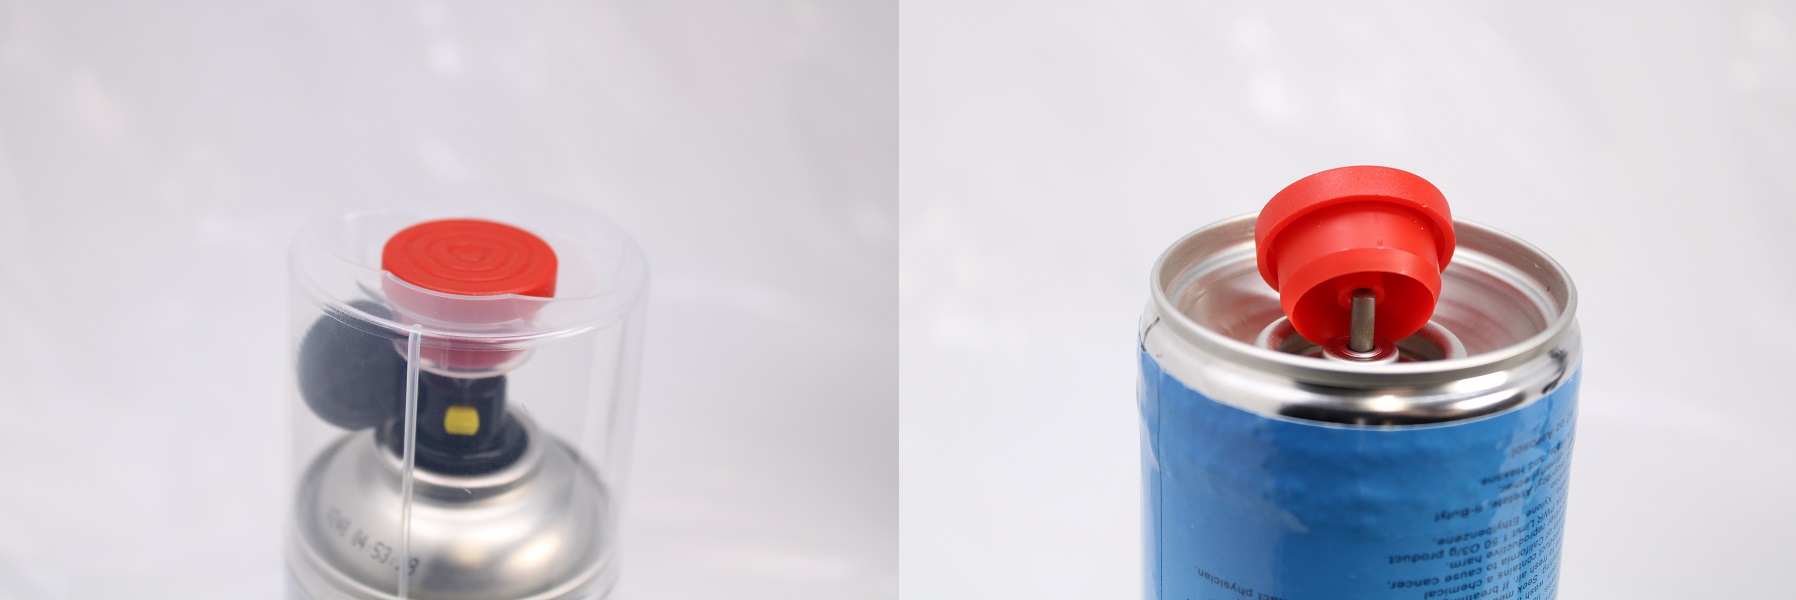
You need to activate the Duracoat aerosol cans before spraying. Before activating, shake the can vigorously for at least 2 to 3 minutes. Then remove the red button from the lid, and flip the can upside down. Push the plunger underneath the can all the way down with the cap. You'll feel it pop. Once you've done this, shake the can again for 3 minutes to mix the hardener and paint.
Once the can has been activated, it's good for about four weeks.
6. Begin Painting

You should spray Duracoat in light layers. Three layers is generally recommended for full coverage. Spray about 5" to 10" away from the rifle, and never hold the nozzle in a single spot or you'll wind up with over-spray that drips. Your first layer should only "mist" the gun. You want to lay down light coatings that will flash easily with your heat gun.

After applying your first coat, you can hit the paint with heat. We recommend keeping your heat gun about 12" away from the rifle, and going over every painted area as you just did with your spray can. Don't keep the heat on any single spot, especially if you're working with vinyl stencils. They may come off or warp if they get too hot.
7. Add Paint Layers Every 5 Minutes

After flashing the first layer of paint for 5 minutes, you can apply more layers. After you've finished applying your paint colors, you should wait at least an hour before removing any adhesive stencils used. Use a utility blade or properly sharpened knife to gently pick away at the stencils you applied.

With your stencils removed, your Duracoat paint job is complete. This paint will cure for approximately 4 weeks until it is fully hardened. You should leave the rifle alone for 24 hours before reassembling any parts you removed. After one week, the rifle can be handled and fired.
FAQs
Q: What is Duracoat made from?
A: Duracoat's formula is secret. But chemically, it works like most epoxy-based spray coatings.
Q: What kinds of finishes can I get with Duracoat?
A: Most standard colors are an eggshell finish. You can find Duracoat in gloss and ultra-flat colors, too.
Q: Does my paint job need a clear coat?
A: Nope. The paint itself is tough enough for use and abuse. Of course, you can also apply Duracoat's clear coats for even more protection.
Q: Can I sand this paint?
A: Yes. Some painters purposefully sand or scuff their finishes to achieve a battle-worn look. This should only be done after the paint has fully cured.
Q: Can I remove this paint?
A: You can, but it will be difficult. Once cured, Duracoat is chemically resistant to heavy-duty paint strippers. It would be easiest to sandblast this paint to remove it.
Q: Why not use Cerakote?
A: Cerakote provides a slightly tougher finish, but the application is more complex and expensive. It can't be easily applied as a "DIY" job at home. You must sandblast your rifle before applying Cerakote and you'll need a curing oven to bake the paint after spraying. It is not available in an aerosol can.
Q: Can I spray an assembled rifle and engravings?
A: Yes. Duracoat cures as a thin layer of paint. It will not "gunk up" engraved surfaces unless you apply too many layers. You can apply Duracoat to moving parts, like trigger and hammer pins, external levers, and magazine buttons.
DISCLAIMER: If you are new to the world of DIY gun building, you likely have a lot of questions and rightfully so. It’s an area that has a lot of questions that, without the correct answers, could have some serious implications. At GunBuilders.com, we are by no means providing this content on our website to serve as legal advice or legal counsel. We encourage each and every builder to perform their own research around their respective State laws as well as educating themselves on the Federal laws. When performing your own research, please be sure that you are getting your information from a reliable source.

